
TABLE OF CONTENTS
The Media Suite Desktop Client is a new tool that enables you to set up automatic downloads of assets from Content Hub Mailbox workflows to your local storage. Media Suite Desktop Client will show a countdown of two weeks till your credentials expire with a button to renew. If you fail to renew your' credentials they will expire.
System Requirements
| Mac | OS X (version 10.12 or greater) |
| Windows | 10 |
| Linux | Ubuntu 20, Amazon Linux 2 |
Installation Instructions
If you need Windows or Linux installation instructions please click here.
MAC
1. Download the app: Mac
2. Right click the DMG and select Open. You may be prompted to “trust” the application during this step.
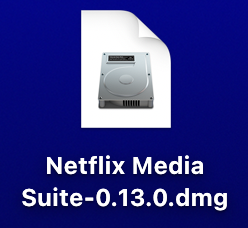
Figure A
3. Once the DMG has been opened, drag the app into Applications.
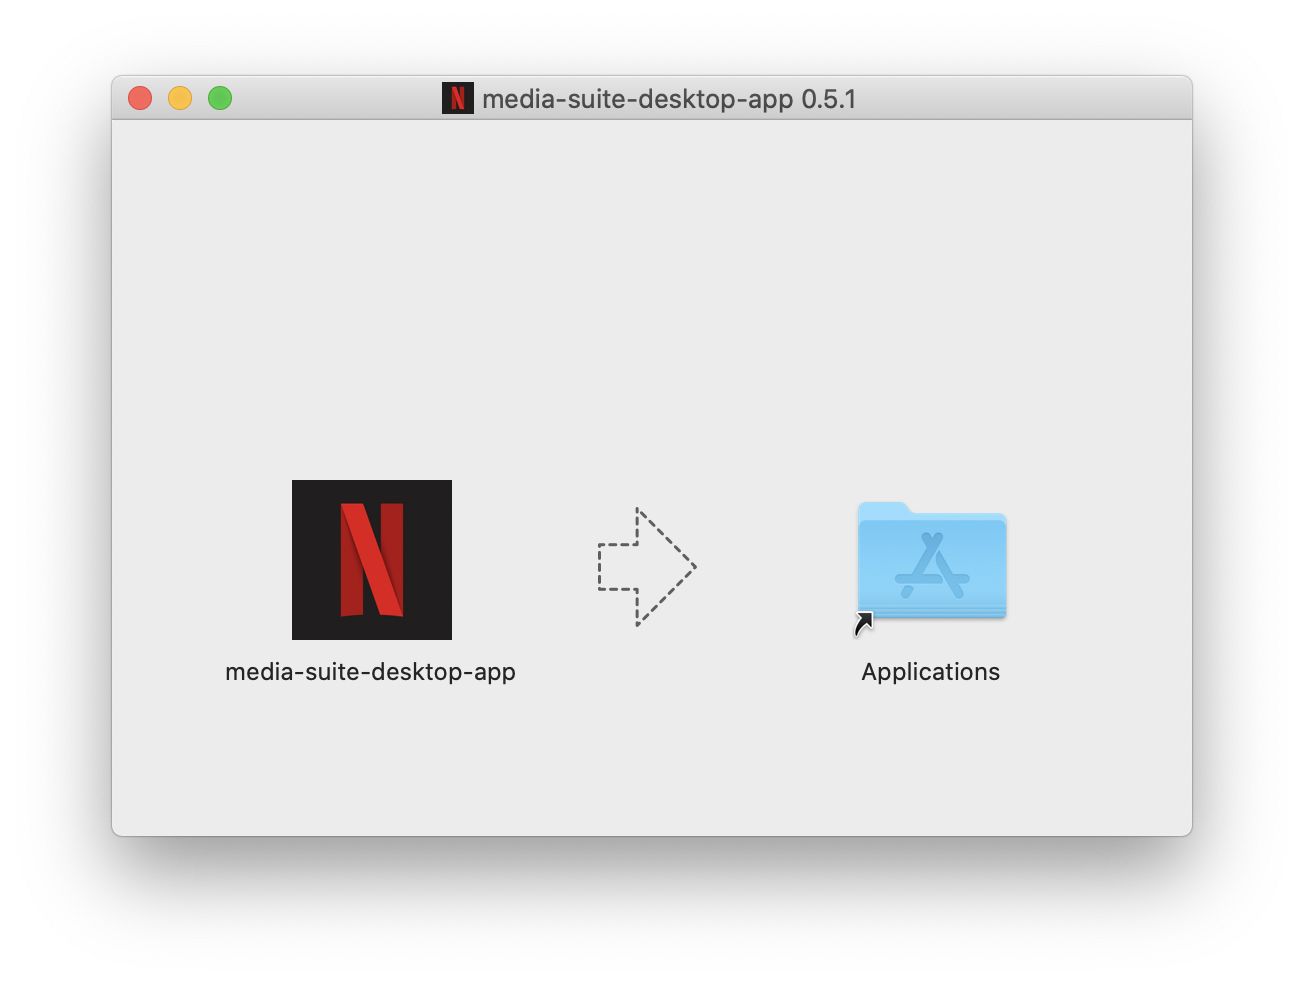
Figure B
4. Launch media-suite-desktop-app from Applications
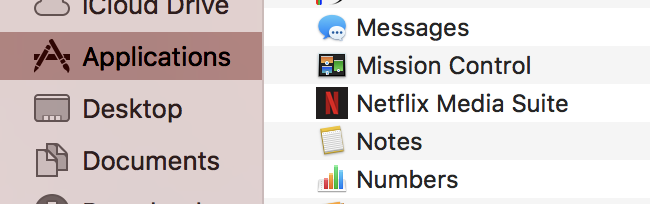
Figure C
5. When the app opens, you’ll be prompted to sign in with your Netflix Partner credentials.
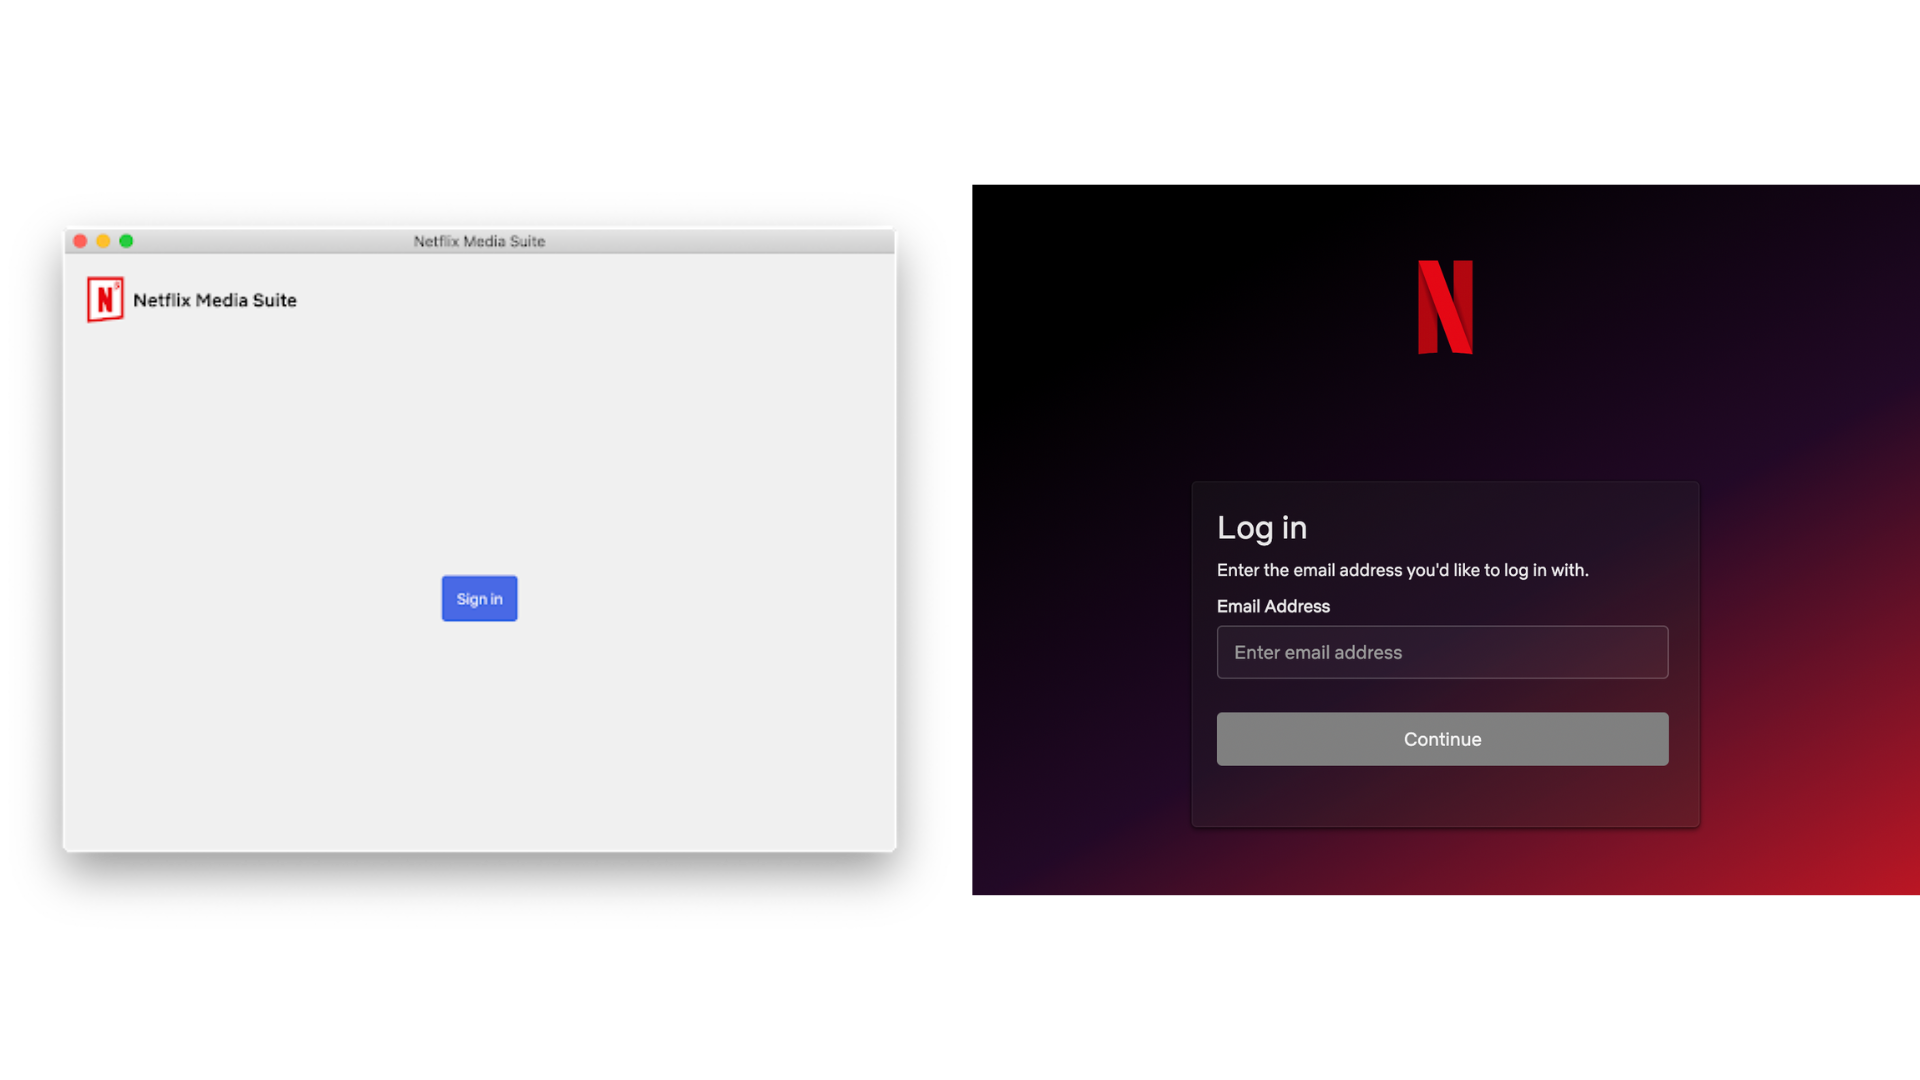
Figure D
6. The first time signing in, you’ll be asked to run a test of your network speed. Double check that your destination is to set to cloud and select Continue.
Figure E
Once your speed test is you will see your results. Select Continue to load the main transfer window where you can monitor any incoming or outgoing deliveries.
Figure F
If the desktop client picks up multiple deliveries on a single “check-in” these deliveries will be grouped together into a single download session.
Windows and Linux
1. Download the app: Linux Windows
2. Click to Open.
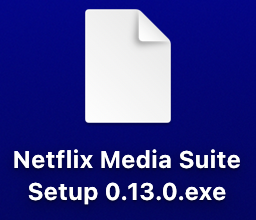
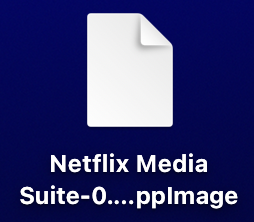
Figure G
3. When the app opens, you’ll be prompted to sign in with your Netflix Partner credentials.
Figure H
4. The first time signing in, you’ll be asked to run a test of your network speed.
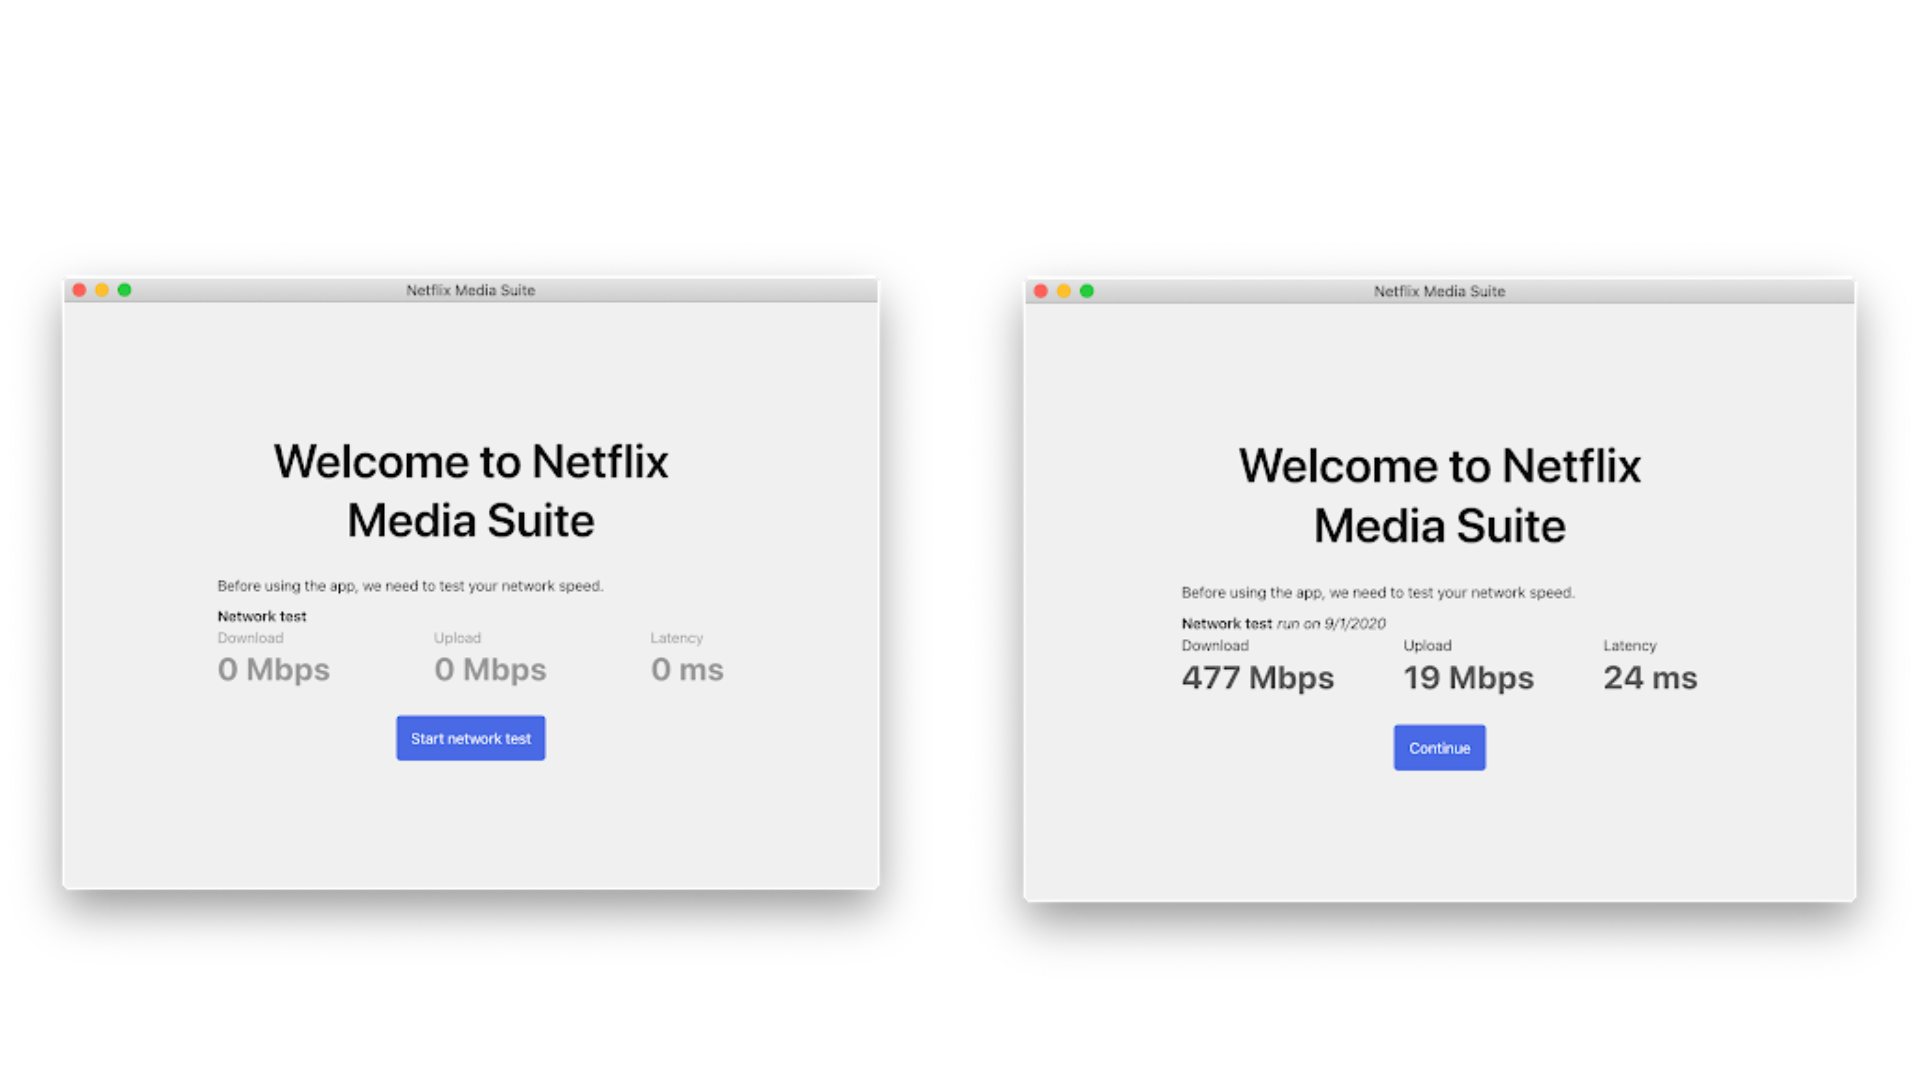
Figure I
5. When that’s finished, you’ll be taken to the main screen which displays any ongoing or completed transfers.
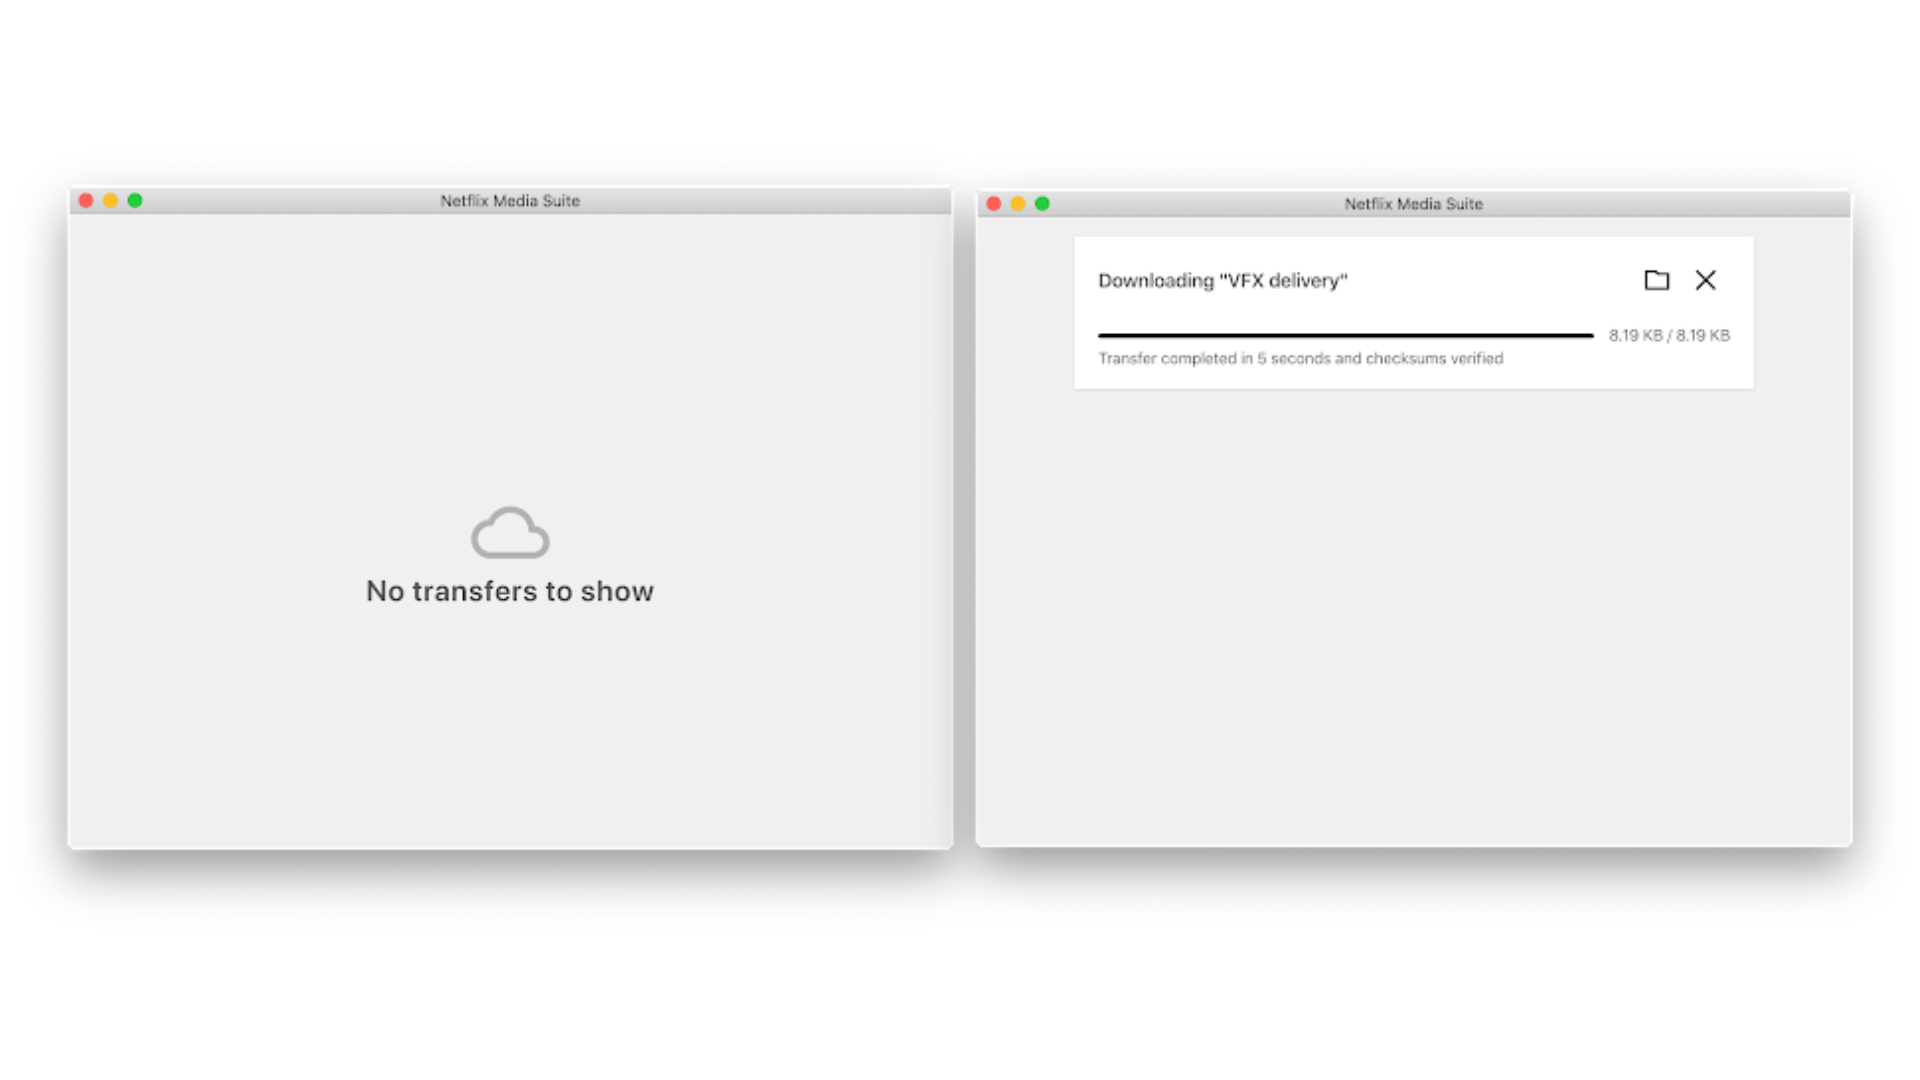
Figure J
Additional Settings
Once the installation is complete you will want to set your storage destination, turn on subscriptions for your projects, set your auto-retry, and confirm that everything is Live in your health tab.
Setting Your Storage Destination
1. Select the wheel icon in the upper right.
![]()
Figure K
2. Select Transfer
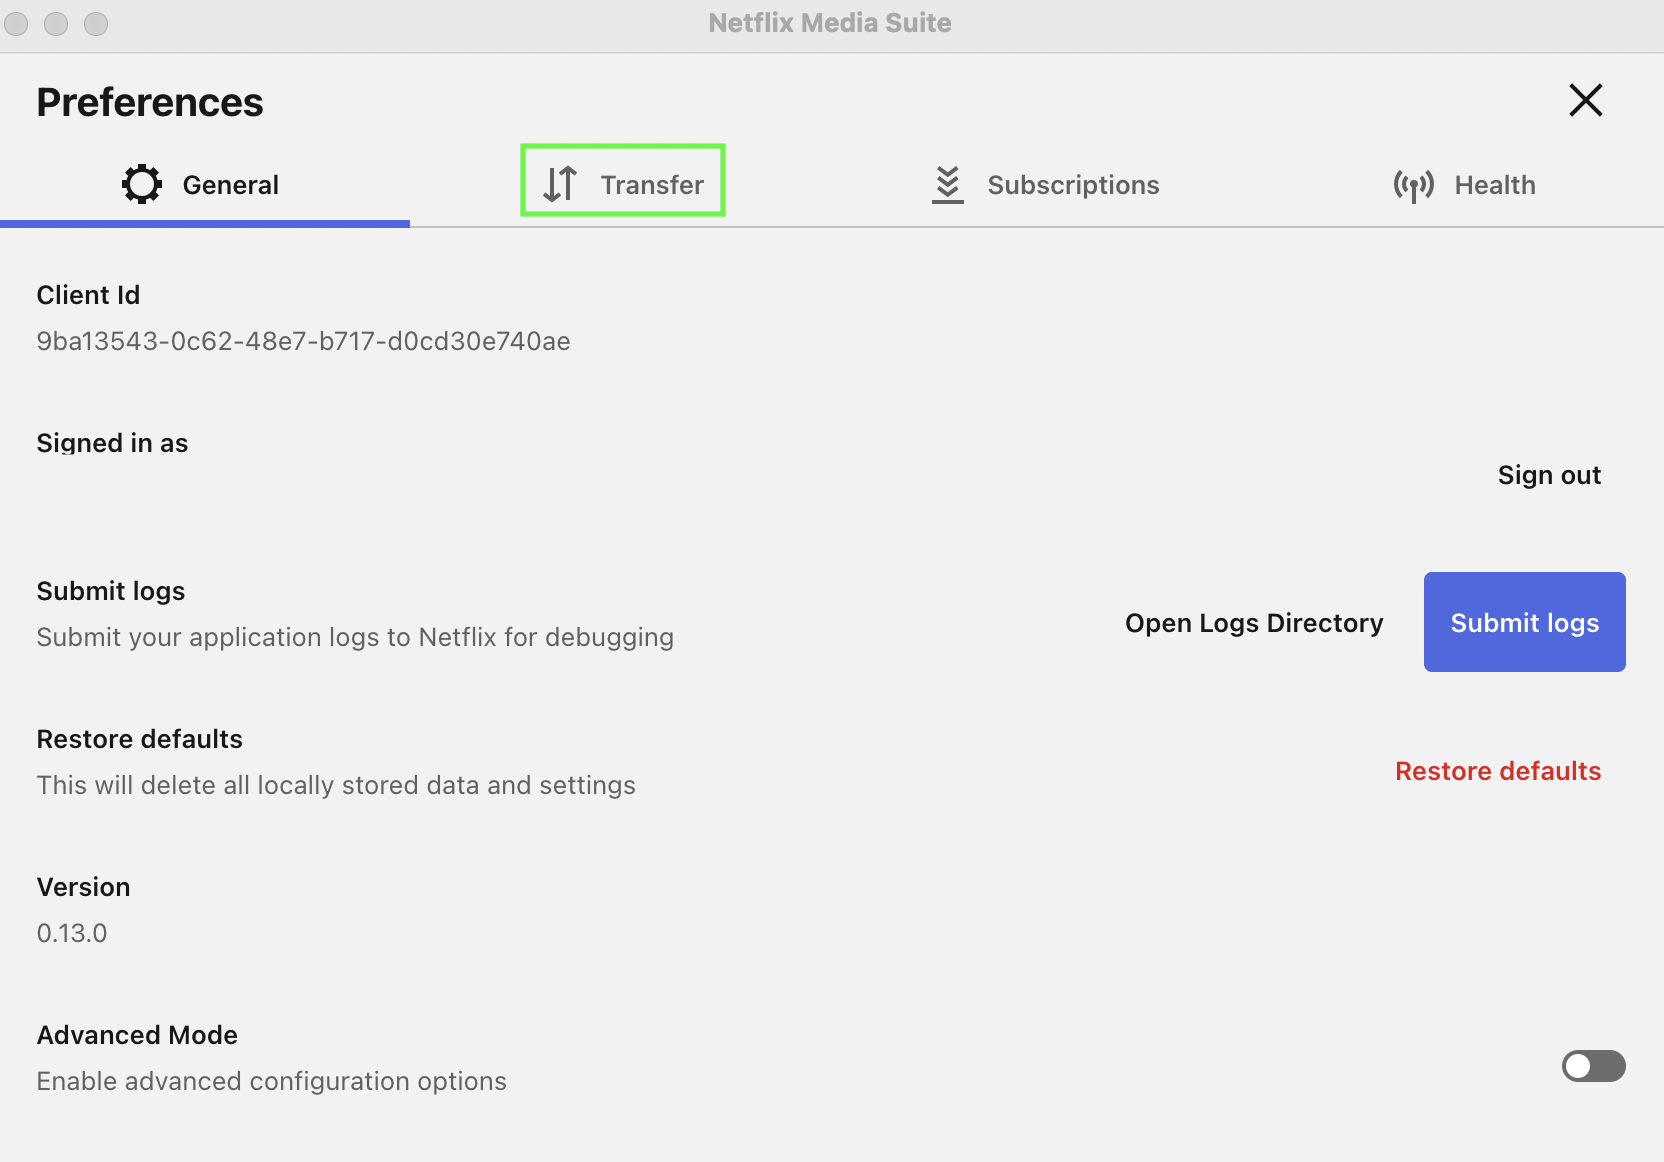
Figure L
3. In Download location select the text box and then set your download location.
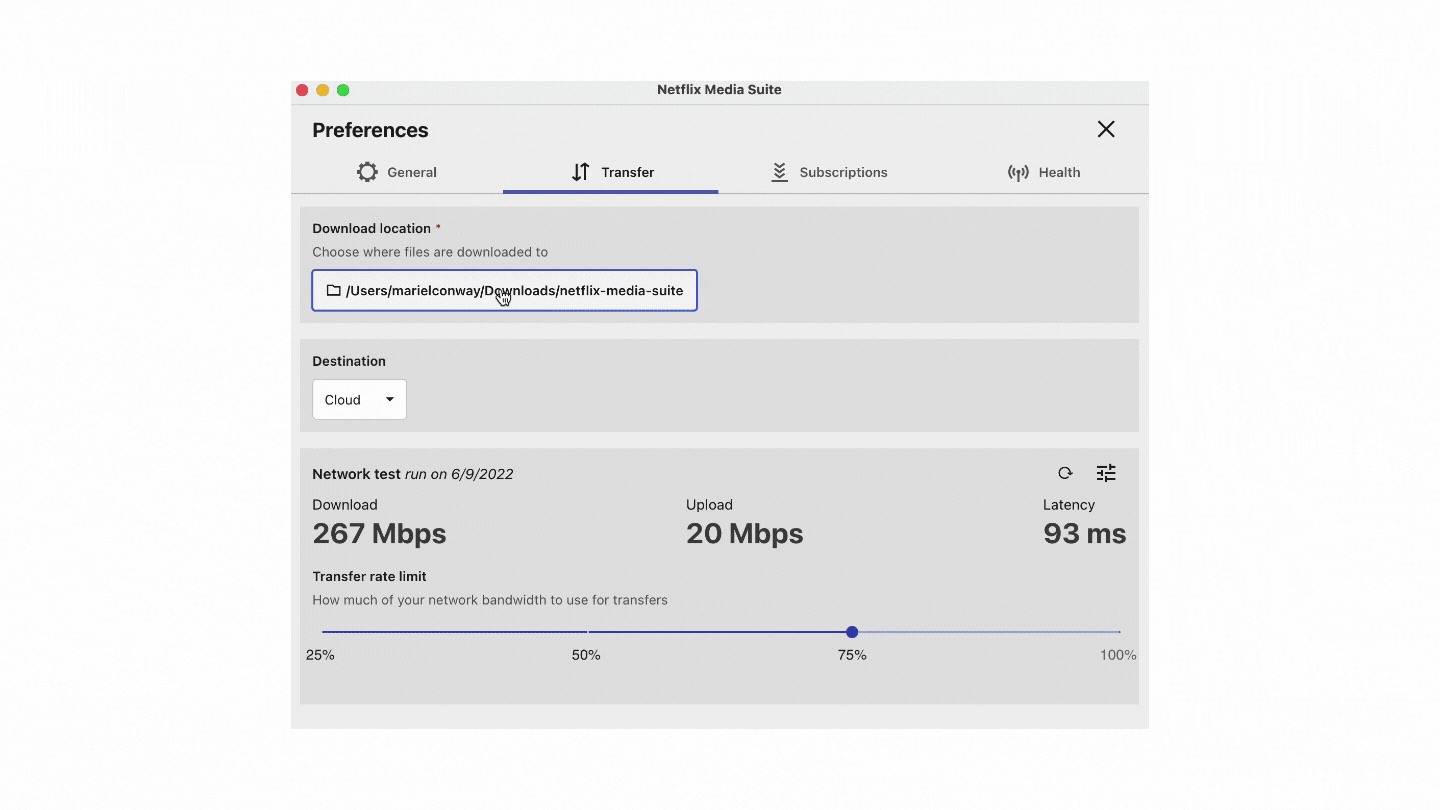
Figure M
Turning on Subscriptions
1. Select the wheel icon in the upper right.
Figure N
2. Select Subscriptions.
Figure O
3. Toggle on any projects you wish to enable AutoDownloads. Please Note Auto-downloads will only download new deliveries after you toggle on your subscriptions. Past delivers will need to be manually downloaded.
Figure P
4. Select the X to return to your main transfer window.
Figure Q
Setting Your Auto-rety
1. Select the wheel icon in the upper right.
![]()
Figure R
2. Under General, locate Advanced Mode and toggle it on.
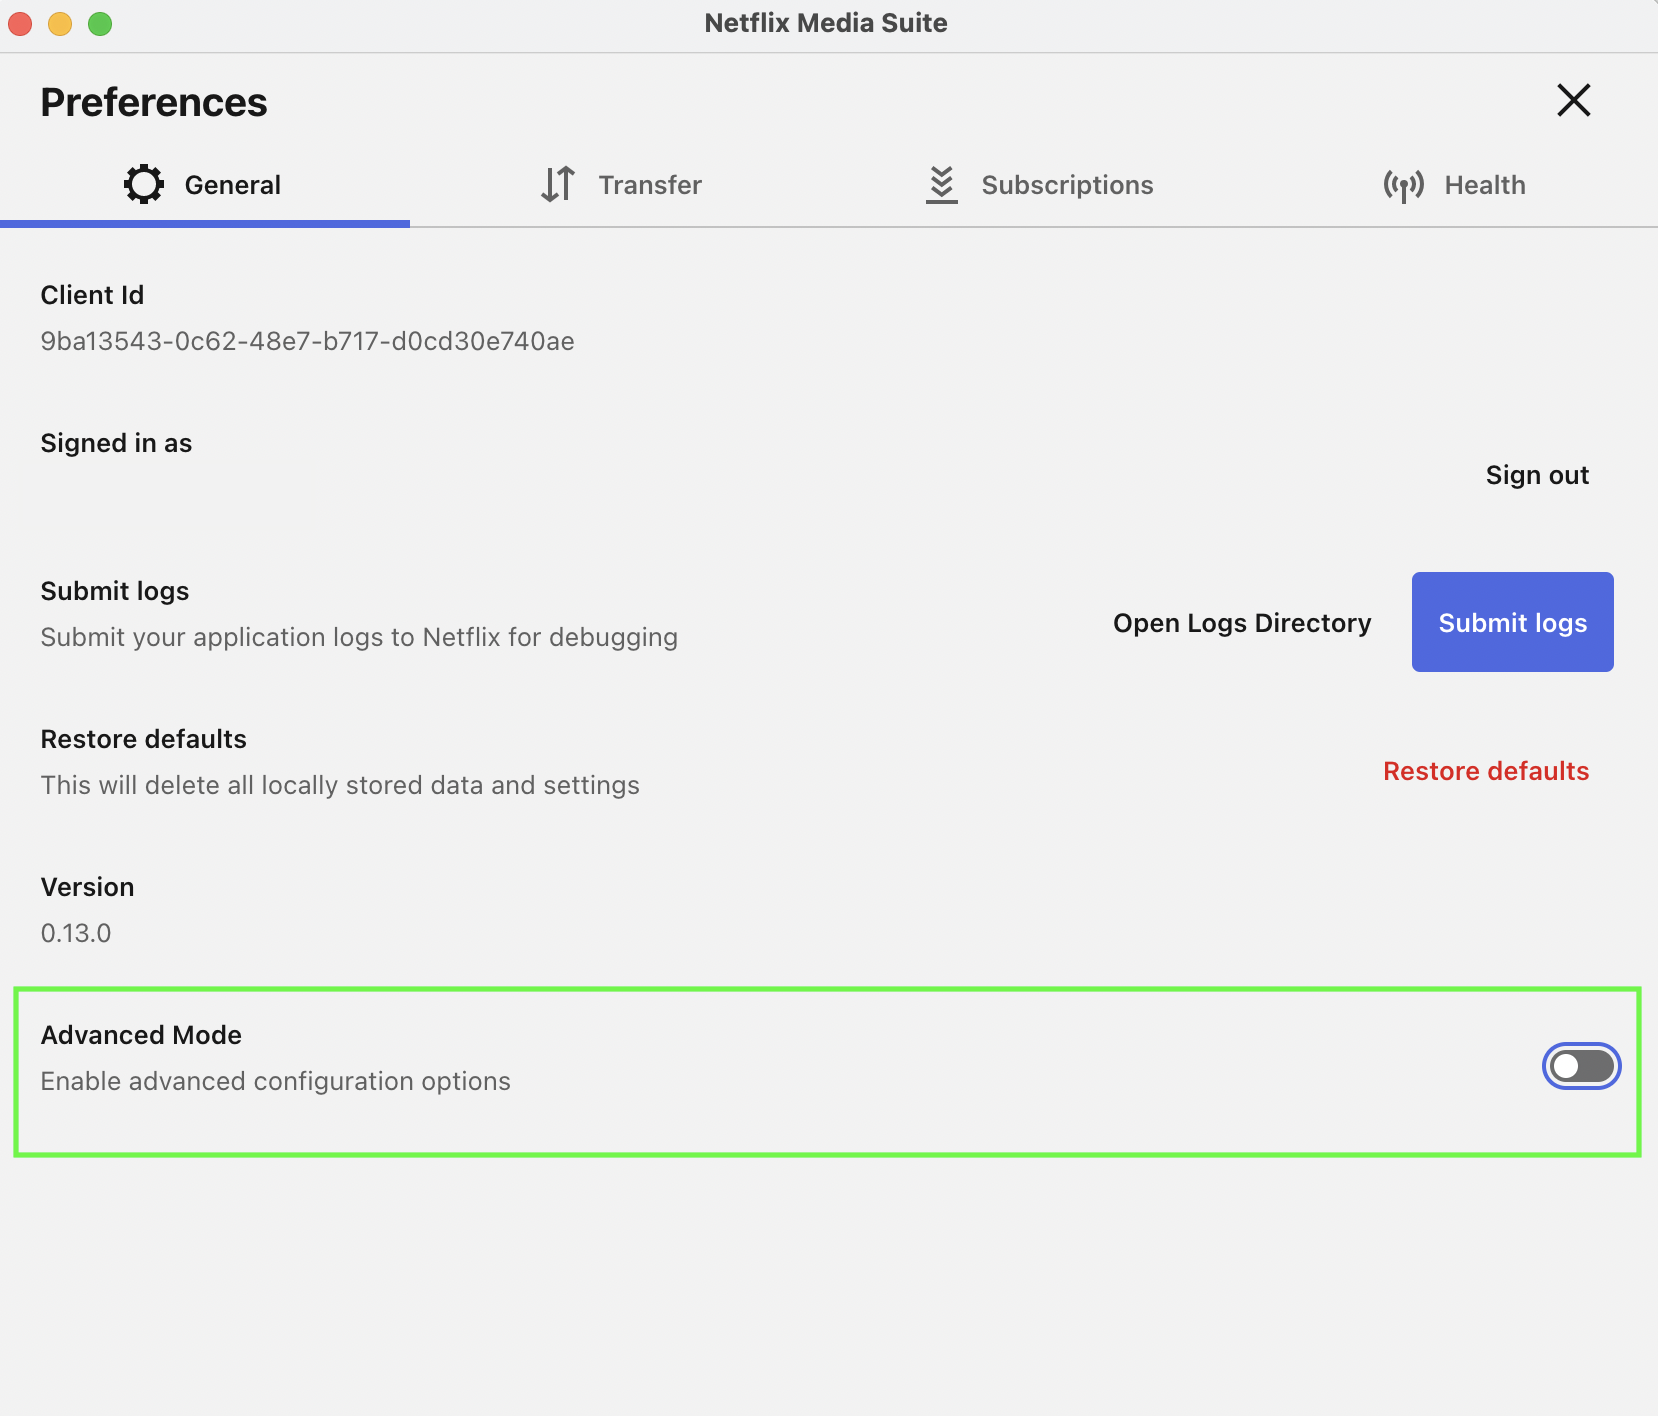
Figure S
3. Set the number of Max Retries by entering the number in the text box.

Figure T
Health Tab
1. Select the wheel icon in the upper right.
![]()
Figure U
2. Select Health.
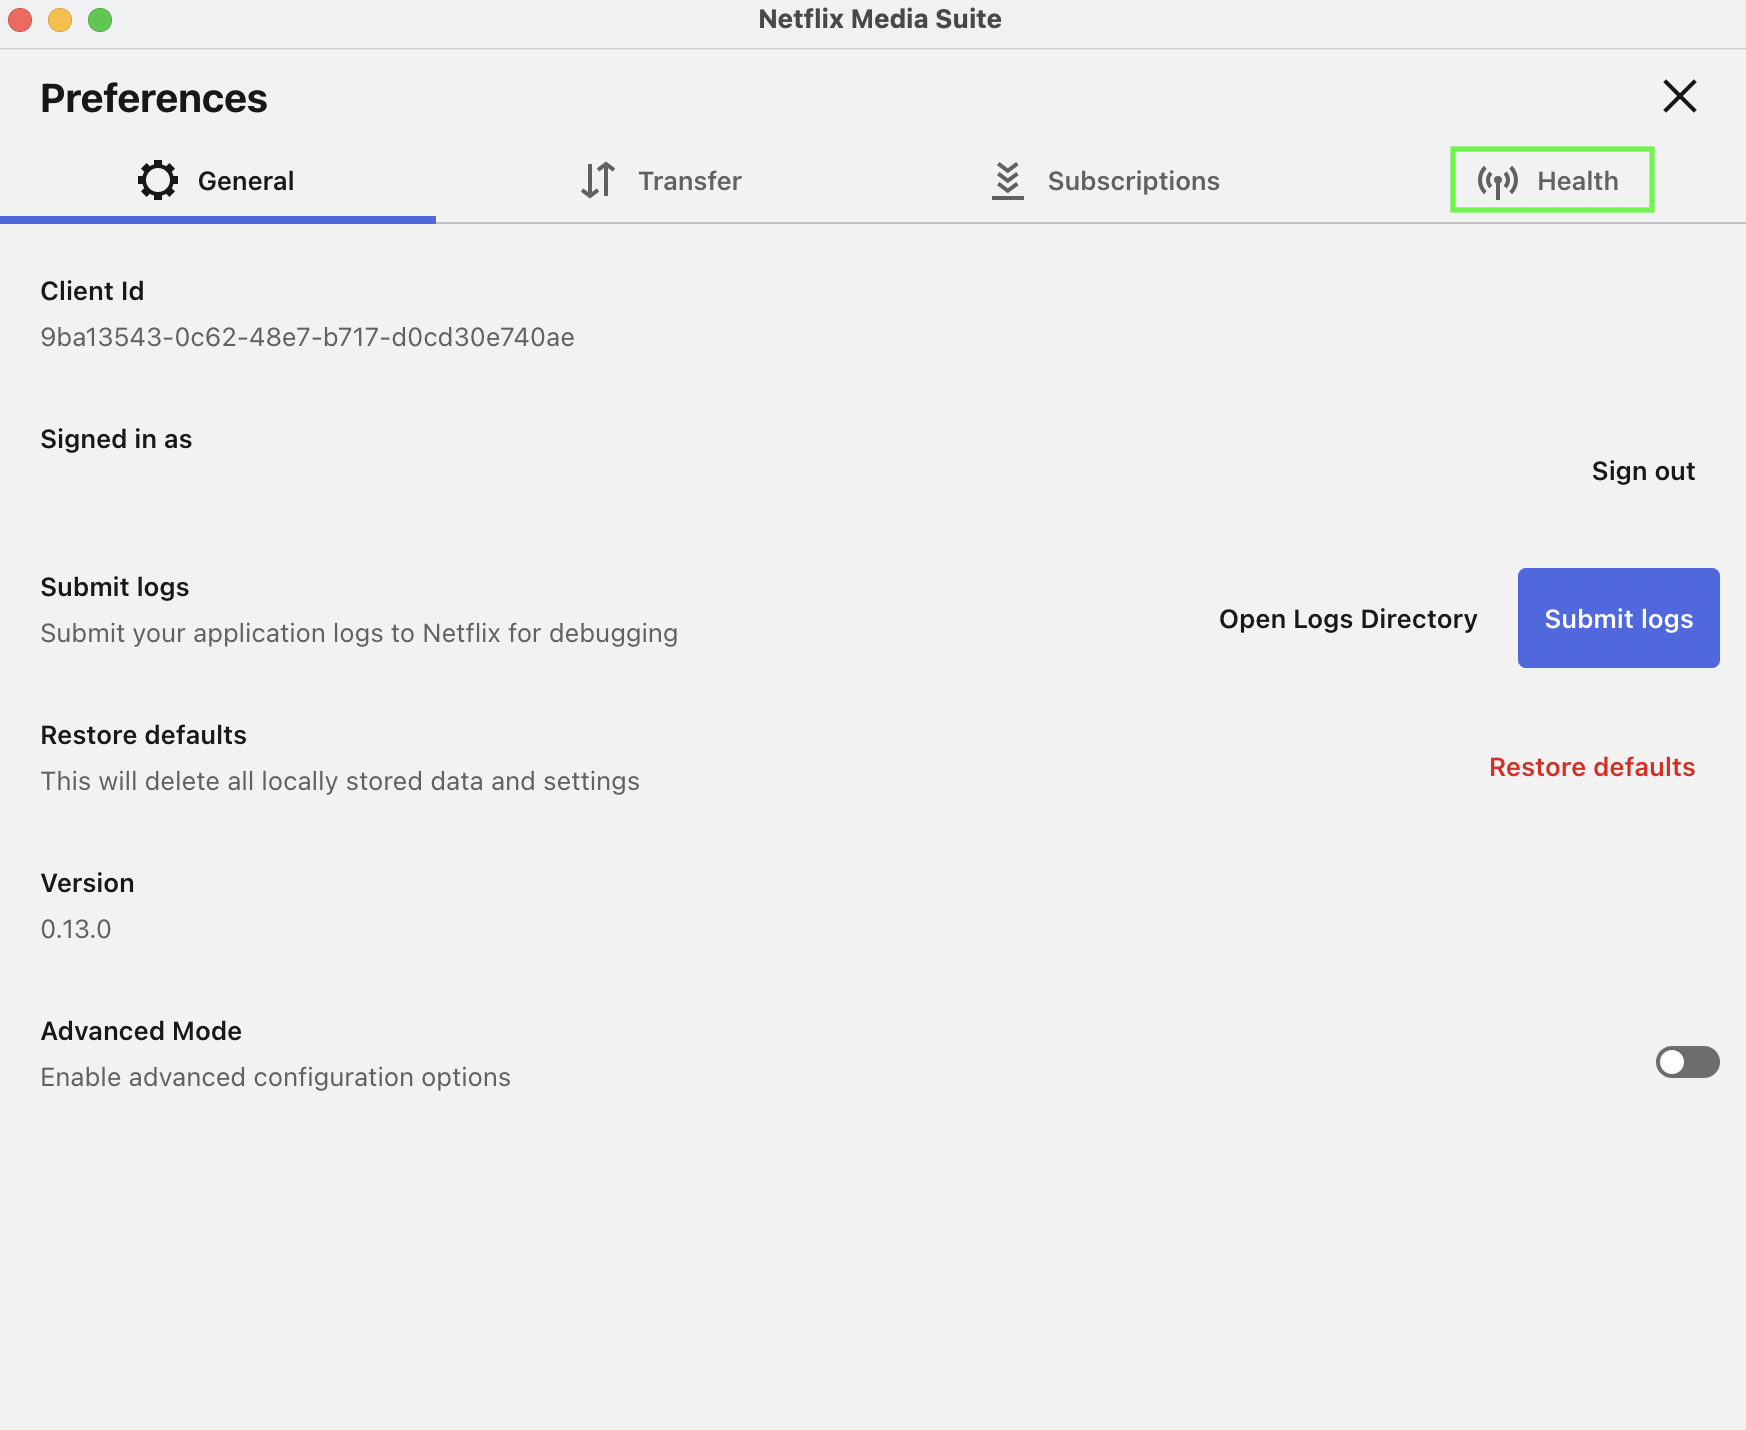
Figure V
3. Ensure that every category is Live.

Figure W
CHANGE LOG
6/17/2022
- Made this article how to install.
3/11/2021
- Added credential expiration date and how to renew